Translation
Overview
By default, DayBack attempts to sense your preferred language and date formats from your computer's system settings. If this works for you, simply leave the switch for "auto settings" set to on:

You'll find this switch on the Home and "Under the Hood" layouts.
If that doesn't work in you situation, you can change the language by hand (or in FileMaker scripts) following the instructions below.
The language settings described here only effect the calendar interface. Sadly, regular FileMaker layouts like "Home" can't be translated automatically like this.
How Do I Select a Different Language for the Calendar?
Changing the Language by Hand.
Changing the Language in Scripts.
Can I Modify the Field Labels and Text Shown in the Calendar's Interface? Editing an Existing Language
Yes. You can easily edit any of the languages DayBack supports. Moreover, this is how you change the display value for any text or button shown in DayBack's web viewer interface.
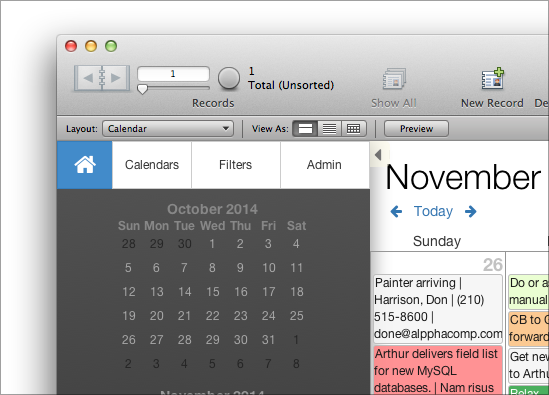
For example, let's say we want to change the word "Settings"...

...if you switch to the "Under the Hood" layout you'll see a file called "dbk_translations.js". Click the "edit" icon to the left of that file. That will bring up the file in DayBack's code editor (though feel free to copy and paste it into your own text editor).

Here we can change the word settings to be something else. We'll change it to "Admin" like this:
Now if we click "Save..." or "Preview Calendar" in the lower right of the screen, we'll see that "Settings" now says "Admin".

You can make changes like this for any of the languages found in the "dbk_translations.js" file. Note that the "pointer" to the string to be translated is always it's English name. Don't change that; only change the second value.
Can I Create My Own Languages?
Yes. Follow the instructions above to get to the "dbk_translations.js" editor. Once there you'll copy one of the existing language blocks and paste it back in as the starting point for your own.
When copying, select everything from the section's header like this...
...through the final semi colon before the next section:
Then paste it in right after that last semi colon (don't paste it at the end of the file).
Once it's pasted in you can begin swapping out the strings for those of your own language. Note that you'll also want to give your new language a two character prefix in the second line of your file's section. Here is the one for Dutch as an example:
You can make up whatever abbreviation you want for your language, and it doesn't have to be just two characters, but if you'd like to use the correct abbreviation you can find a list here.
The "None" Resource
Version 9.49 of DayBack introduced a default resource column named "none". If you'd like to translate this into your own language there are just a couple additional things to do:
Items 1 and 3 must use the same translation for "none". Item two can use an abbreviated version if there is something shorter in your language.

